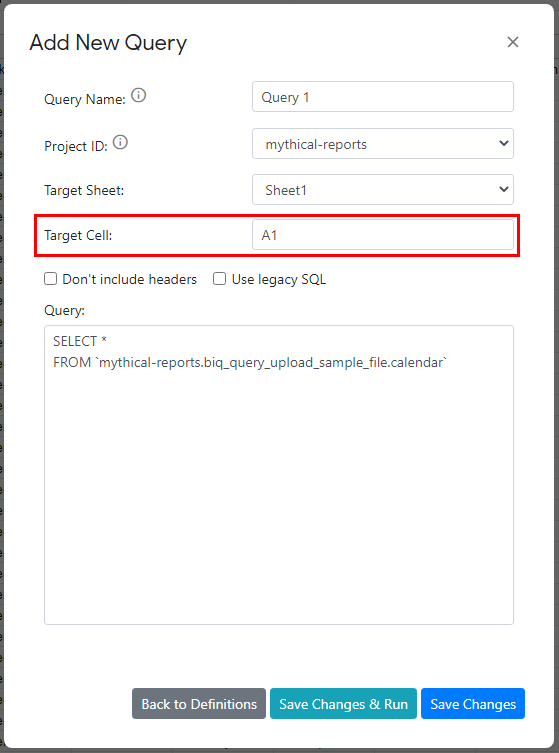
Target Cell
When you set up your query definition, you are asked for a “target cell”. It’s the cell in the top left corner of the range where your query results will start to be inserted. For example, if you have a query returning 2 columns and 10 rows and you set the target cell to “A1”, the query results will appear in range A1:B11 (assuming you will be pasting headers so that will be 11 rows in total).
A Few Things to Keep in Mind
- The downloader does not check for overlaps – if you have existing data in your target range, the query results will simply overwrite your existing data.
- The query result range is dynamic – downloader will handle situations where new columns or rows are added in front of your target cell.
- If you insert a new column in front of the column where your target cell is, the downloader will shift the target cell by one column – the new address will be visible after you enter the query definitions menu. So back to our example, if you enter a new column if front of an existing column A while having target cell as “A1”, the new target cell value will shift to “B1”.
- The similar approach applies to new inserted rows – if you add a new row in front of an existing row 1, the new target cell will shift from A1 to A2 and again, you will see the current set up when you open the query definitions menu.
Our Recommendations
To keep your downloaded data safe and stable, we recommend to:
- Set your target cell to A1.
- Use a different sheet for each query.
- Use the sheet only as a destination for your BQ data, don’t run any ad hoc calculations on the side in the spreadsheet. You can for example update your query which will start returning more columns and all of the sudden, you ad hoc calculations will be overwritten with query results.
- Remove empty columns in your sheets to keep the whole spreadsheet as small as possible.
Back to Help Center Buy License Now
Pingback: How to Run Your First Query – Mythical Reports